7 Steps to make your Webflow website European Accessibility Act 2025 compliant
Key Takeaways
- The European Accessibility Act (EAA) requires websites and digital products serving EU users to be fully accessible by June 28, 2025.
- Webflow provides built-in accessibility tools like contrast checking and ARIA labels, but you must configure them properly.
- True compliance requires going beyond design, testing with screen readers, ensuring semantic HTML, and documenting your process.
- Non-compliance can lead to penalties, restricted market access, and reputational damage.
- Combining Webflow’s accessibility features with third-party audit tools gives you the best path to meeting EAA standards.
Introduction
Did you know that in the EU alone, over 100 million people live with some form of disability? Ensuring your Webflow website complies with the European Accessibility Act 2025 (EAA 2025) isn't just about meeting legal requirements—it's about inclusivity and reaching every potential visitor, regardless of their abilities.
In this blog, we'll go through practical steps to make your Webflow website EAA 2025 compliant. From understanding the basics of accessibility standards to implementing specific changes on your site, we'll cover everything you need to know.
Let’s begin.
What is the European Accessibility Act (EAA) 2025?
First, let’s understand what EEA 2025 is. The European Accessibility Act (EAA) 2025 is a new law aimed at making sure that people with disabilities can access and use products and services just like everyone else. It covers a wide range of things, from websites and mobile apps to e-books and electronic banking.
By June 28, 2025, all businesses in the EU need to make sure their digital services meet specific accessibility standards. This means making websites and apps easier to use for people with various disabilities. The idea is to break down barriers and create a more inclusive online world.
Key points of the EAA 2025:
- Who it affects: Both public and private sector organizations in the EU.
- What it covers: Websites, mobile apps, e-books, and electronic banking services, among others.
- Deadline: Compliance is required by June 28, 2025.
- Why it matters: Making the web accessible ensures that everyone, regardless of their abilities, can access information and services easily. It’s about creating a more inclusive and fair society for all. Non-compliance will also result in penalties.
For enterprises, accessibility isn’t optional; it’s part of responsible Webflow adoption at scale. Now that you understand what it is, let’s take a closer look at who needs to comply with this act.
Who does the EAA apply To?
The European Accessibility Act (EAA) 2025 applies to a wide range of businesses and organizations. If you offer products or services in the EU, there’s a good chance this law affects you. Here’s a more detailed list of who needs to comply:
Public sector organizations
- Government websites and services
- Public transportation services
- Educational institutions
Private sector businesses
- E-commerce websites
- Financial services like online banking
- Telecommunications services
- E-books and digital publishing
- Broadcasting services
SMEs and large enterprises
- Both small and medium-sized enterprises (SMEs) and large corporations need to ensure their digital services are accessible.
- Even if you’re a small business, if you’re providing goods or services online, the EAA applies to you.
Specific industries
- Retail: Online stores must be accessible to all shoppers.
- Finance: Online banking and financial services need to cater to users with disabilities.
- Education: E-learning platforms must ensure their content is accessible.
- Media: Online broadcasters must provide accessible content.
For this blog, we’ll focus how you can make your (Webflow) website more accessible and compliant to EAA.
How to make your Webflow website EAA 2025 compliant
Making your website compliant with the European Accessibility Act (EAA) 2025 might seem time-consuming, but it’s a step in the right direction. Here’s a detailed, step-by-step guide to help you make your website accessible to everyone.
Step 1: Conduct an accessibility audit
Before making any changes, you need to know what areas of your website need improvement. To know this, we’ll run an accessibility audit for our website. There are 2 tools you can use to do this - WAVE, and Lighthouse.
How to conduct the audit:
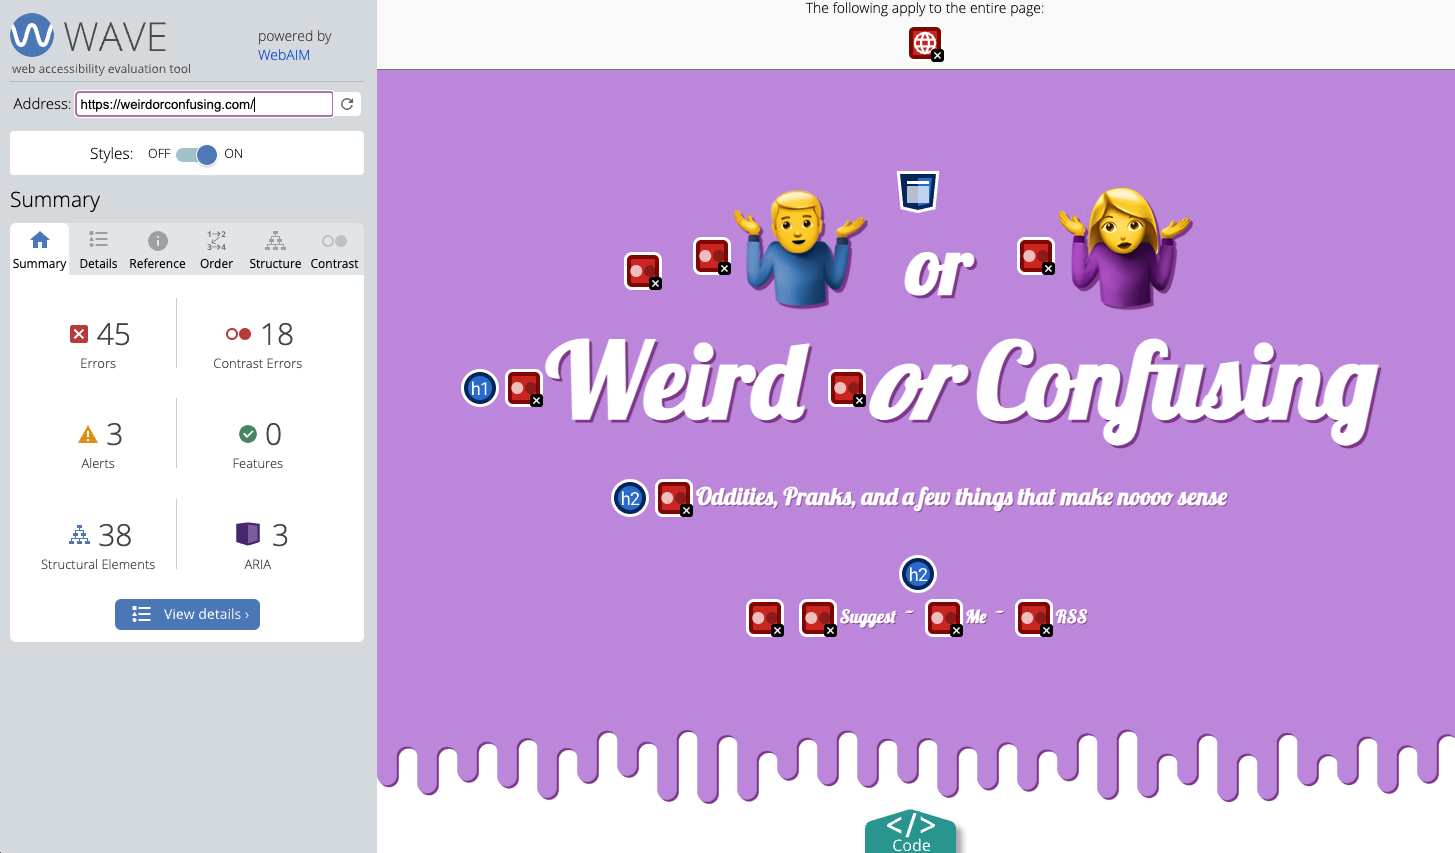
1. Using WAVE:
- Go to the WAVE website.
- Enter your website’s URL and run the scan.
- Once complete, this will show you visual feedback about the accessibility of your web content by adding icons and indicators to your page.
- Review the report to identify accessibility issues like missing alt text, low contrast text, and improper heading structure.
2. Using Lighthouse:
- Open your website in Google Chrome.
- Open DevTools (right-click on the page and select “Inspect” or press
Ctrl+Shift+I). - Navigate to the "Lighthouse" tab.
- Run an accessibility audit and review the results for actionable insights.
- Once complete, you will get an accessibility score along with the issues outlined.

Review findings:
- Compile a list of all identified issues from both tools.
- Prioritize these issues based on their impact on user accessibility.
- Address each issue identified in the audit. For example, if WAVE highlights missing alt text, ensure that all images have appropriate alt text.
Step 2: Use semantic HTML
Using semantic HTML is crucial for accessibility because it helps screen readers understand and navigate your site more easily.
How to Implement:
1. Identify non-semantic elements:
- Go through your website and find
<div>and<span>elements that are being used for structural purposes. - Note where these elements can be replaced with semantic elements.
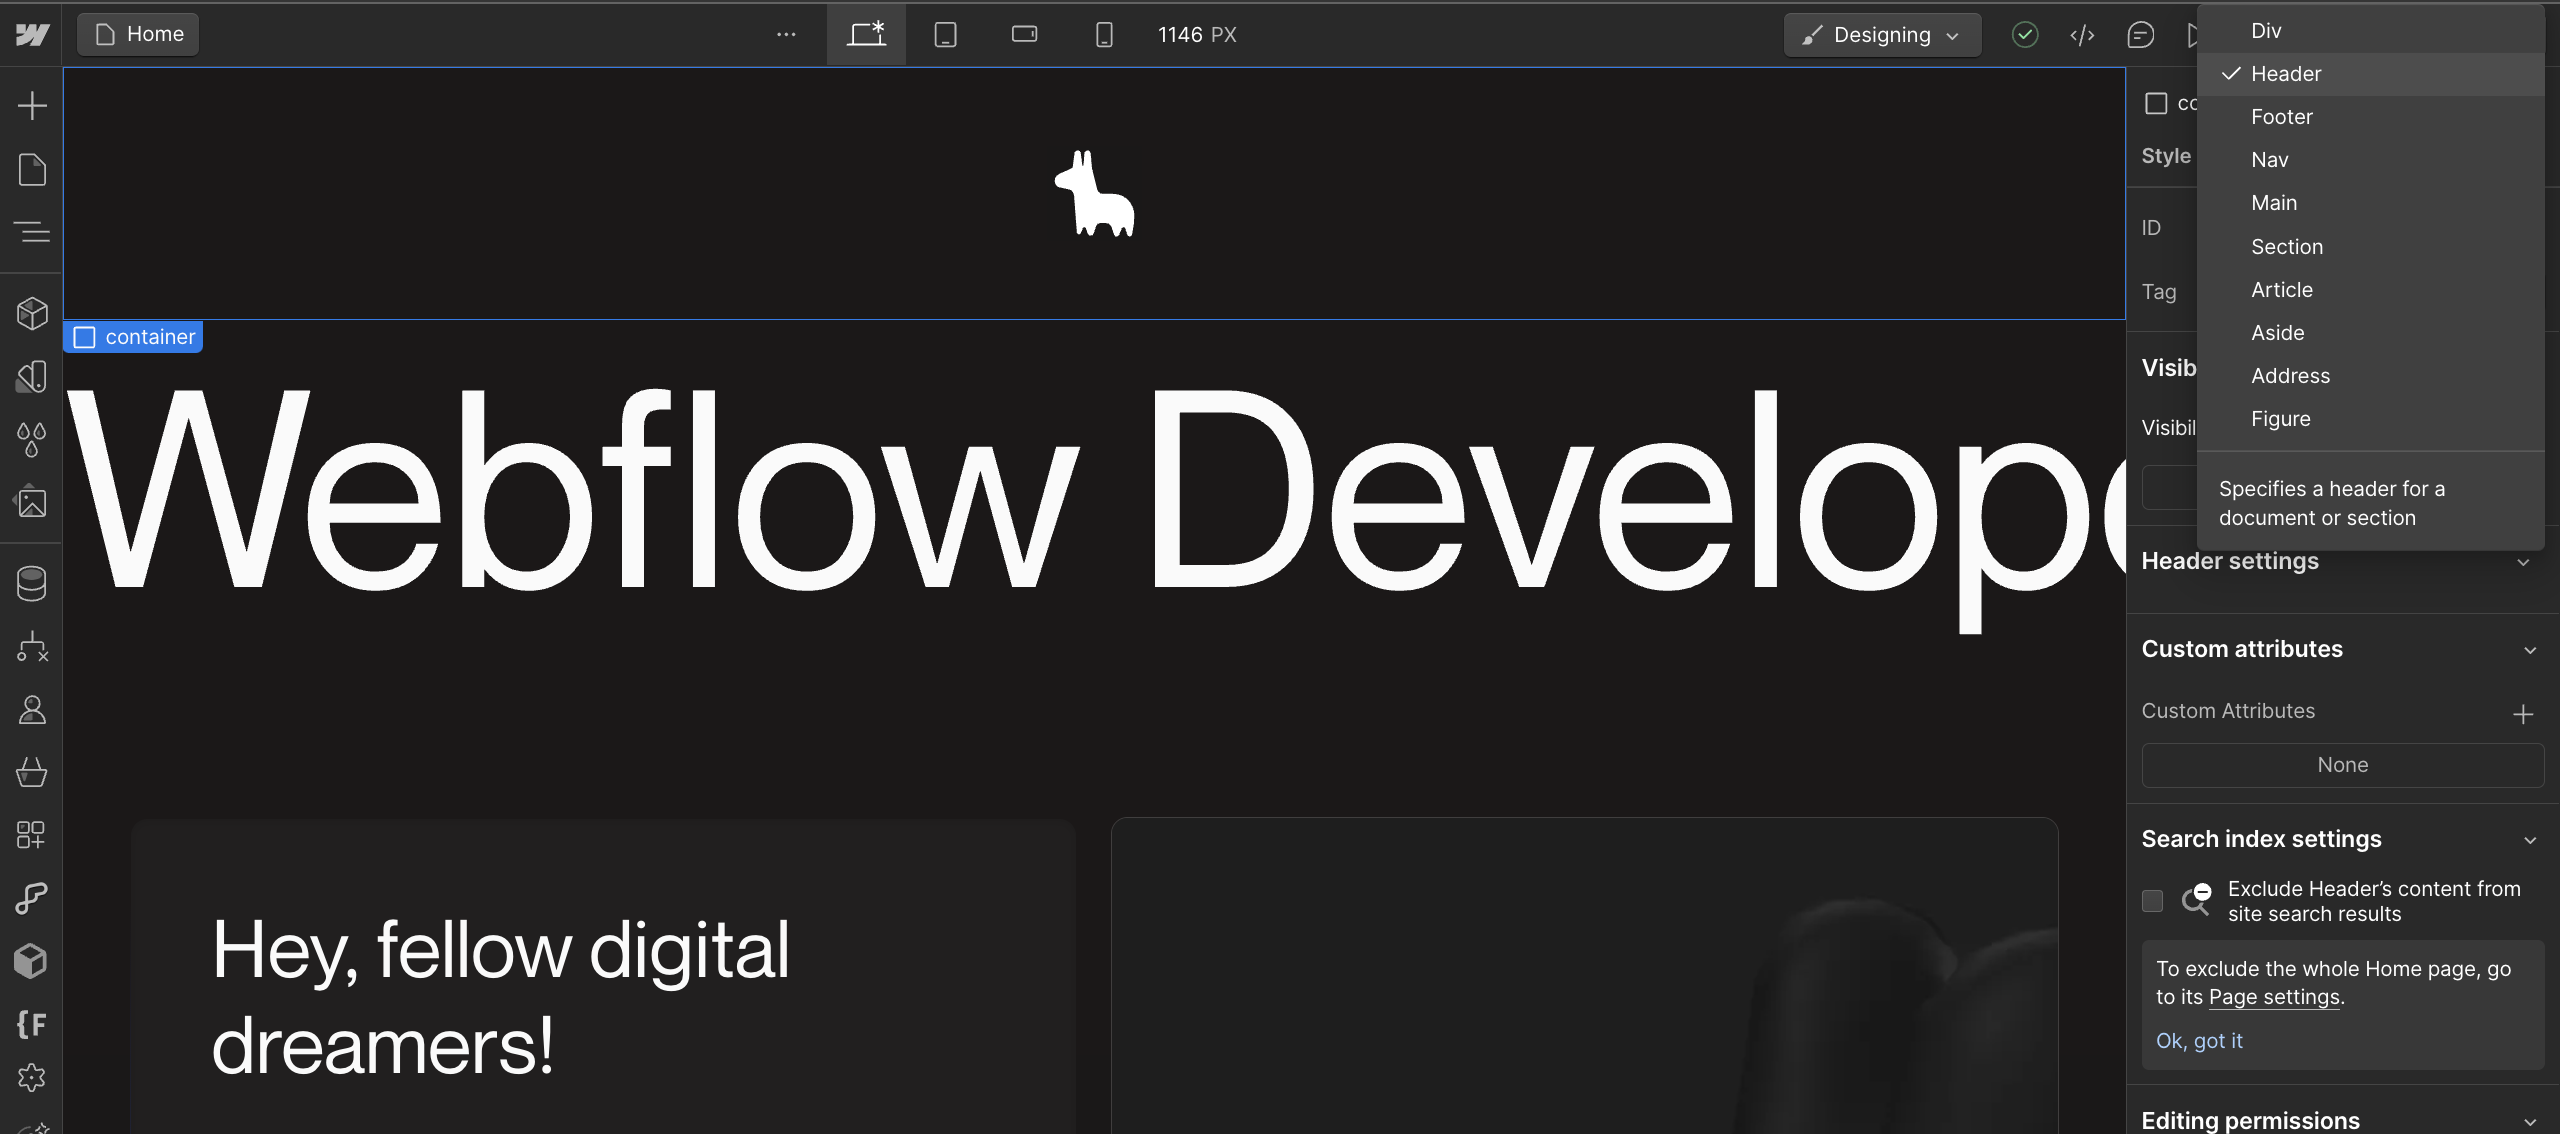
2. Replace with semantic elements:
- Use
<header>for the top section of your site containing the logo and navigation. - Use
<nav>for your site’s navigation menu. - Use
<main>to wrap the main content of your site. - Use
<section>to divide your content into thematic sections. - Use
<article>for independent content items like blog posts. - Use
<footer>for the bottom section of your site.
3. Check heading structure:
- Ensure headings (
<h1>to<h6>) are used in a logical, hierarchical order to reflect the structure of your content. - Example: Use
<h1>for the main title,<h2>for section headings, and so on. - Don’t skip heading levels when building your pages. If your section heading has an H2 tag and you need a paragraph title, use H3 there. (Note: Don’t confuse heading tags with heading styles. e.g. - an H1 could have a .h3 class.)
Step 3: Implement ARIA landmarks and roles
ARIA (Accessible Rich Internet Applications) helps make dynamic content and advanced user interface controls accessible to users who rely on assistive technologies like screen readers. ARIA attributes provide additional information about elements, enhancing their accessibility.
Key ARIA concepts:
- Roles: Define the type of element (e.g., banner, navigation, main, button).
- Properties: Provide additional information about elements (e.g., expanded, disabled).
- States: Indicate the current state of elements (e.g., checked, selected).
How to implement ARIA in Webflow:
- Identify sections for landmarks:
- Use ARIA landmarks to define regions of the page. This helps screen reader users navigate the page more easily.
- You can include landmarks for
banner,navigation,main,complementary,contentinfo,search, and more. - For example, if you have a div on your website that triggers an action when pressed, add a custom attribute with name
roleand give it a value ofbutton.
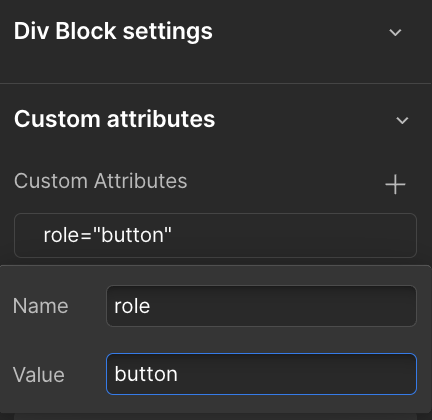
Similarly, you can add role=”search” on forms that are used for search functionality.
By adding ARIA landmarks and roles to your Webflow site, you improve the accessibility and usability of your site for users who rely on assistive technologies. This ensures that your website is more inclusive and compliant with accessibility standards.
Proper use of headings, alt text, and semantic HTML not only ensures accessibility but also makes your site more SEO-friendly in Webflow.
Pro Tip: If you need a deeper understanding of ARIA, be sure to check out W3C’s guide to ARIA, How to Use ARIA (by Webflow) and Getting Started with ARIA in Webflow (Video by Webflow and Code).
Step 4: Ensure keyboard navigability
Your website should be fully navigable using a keyboard. This is crucial for users who cannot use a mouse, including those with motor disabilities, visual impairments, or temporary injuries. Keyboard accessibility ensures that all interactive elements on your site can be accessed and operated using only the keyboard.
How to test:
1. Manual testing:
- Use the
Tabkey to navigate through your site. Ensure you can access all interactive elements like links, buttons, and form fields. - Use
Enterto activate links and buttons, andSpaceto interact with checkboxes and other controls. - Make sure focus states are visible. When you tab to an element, it should have a visible outline or highlight.
- If you have a div that should be interactive, add a custom attribute
tabindexwith a value0to make it focusable by a keyboard. You’ll also need to handle keyboard events for this interactive div with some Javascript.
2. Testing with tools:
- Tools like Accessibility Insights can help you test your site for keyboard accessibility as well.

Accessibility insights website
How to fix issues in Webflow:
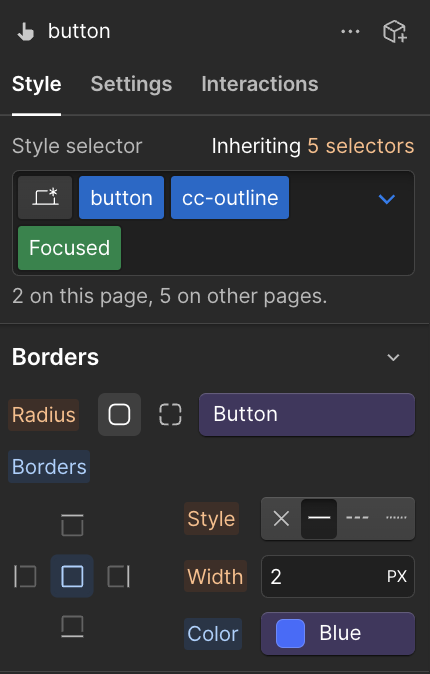
- Set custom focus states:
- Customize focus states in Webflow by selecting the element, going to the Style panel, and defining the focus state under "State" > "Focused".
- Example: Set a visible border or background color change for focused elements.
Step 5: Use color contrast properly
Proper color contrast is super important for making sure everyone can read the text on your website, especially people with visual impairments like color blindness or low vision. If the contrast between your text and background isn't strong enough, it can be really hard for some users to see and read your content. By using proper color contrast, you make your website easier to read and more enjoyable for everyone.
How to check and fix contrast ratio in Webflow:
Webflow has a built-in contrast checker in the Designer. Here’s how you can use it -
- Click on the text element you want to check.
- In the Styles panel, go to the Typography section.
- Click on the text color picker, and you’ll see the contrast ratio at the bottom.
- If the contrast ratio is too low, adjust the colors until they meet the required standards.
- Ensure that all text elements on your site meet the contrast requirements, including buttons, links, and form labels.
.png)
Step 6: Add alt text to images
Alt text is a short description added to images on your website. It helps screen readers convey what the image is to users who can't see it. This is especially important for visually impaired users, as it allows them to understand the content and context of the images on your site. Adding alt text to your images not only improves accessibility but also enhances your website’s SEO. Let’s see how you can add alt text in Webflow.
How to add alt text in Webflow:
- Find the image you want to add alt text to in the assets panel.
- Open asset settings by clicking on the settings icon on top of the image.
- Enter a descriptive alt text in the “Alt” field.

You can also use tools like Webflow extension by Peeks to get AI-generated alt texts or use the Asset Bae Webflow App to generate or bulk edit alt texts.
Pro Tip: Be concise but descriptive in your alt texts and avoid phrases like “image of” or “picture of.” For Example - For an image of a dog, use “Golden retriever playing in the park” instead of “Image of a dog.”
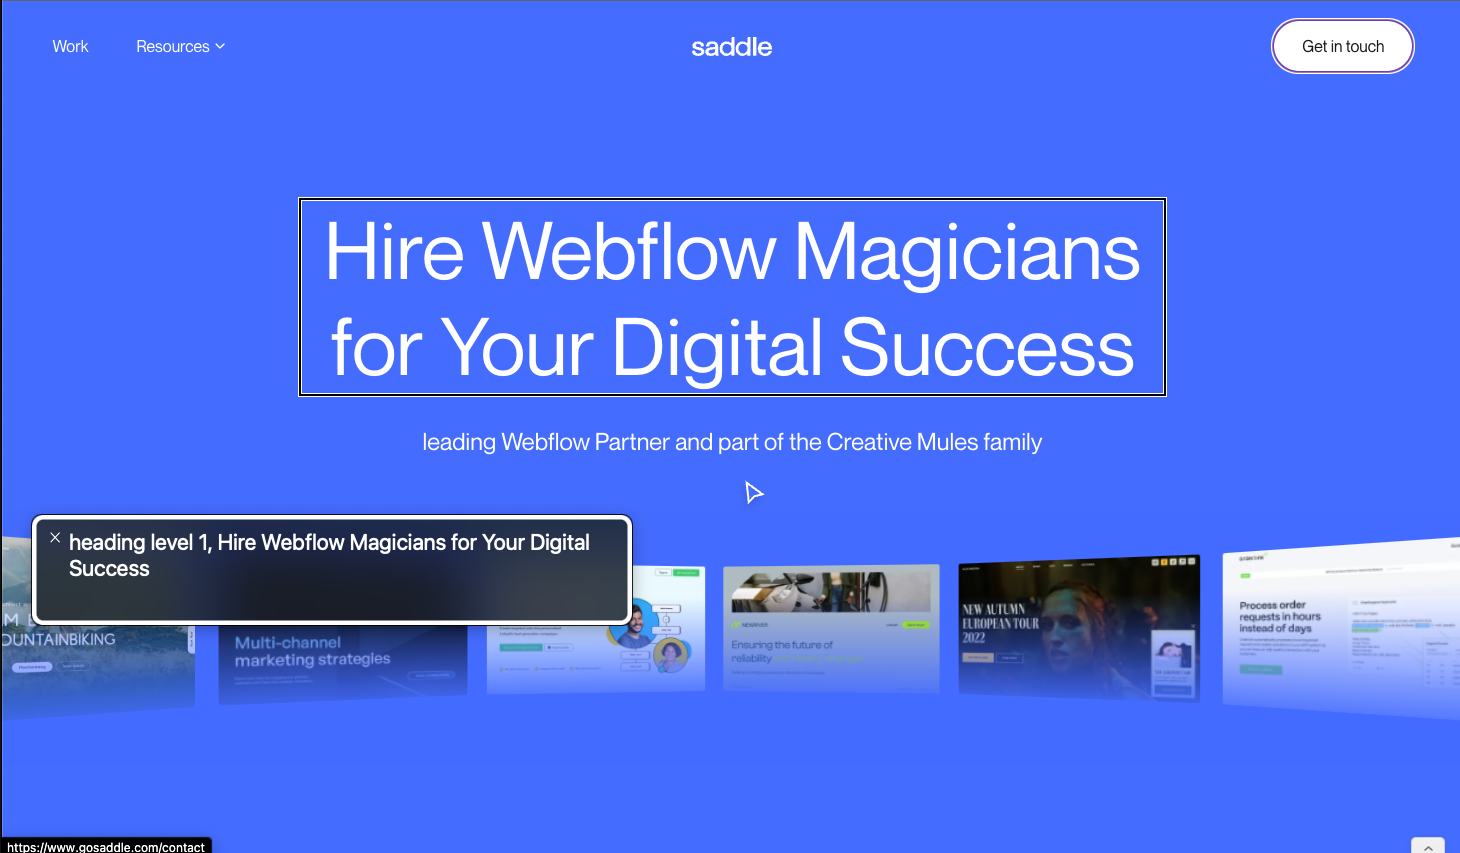
Step 7: Test with screen readers
Testing your site with a screen reader can help you understand how accessible your content is to users who rely on this technology. Screen readers read out loud the text on your site, helping visually impaired users navigate and understand your content. By testing with a screen reader, you can identify any issues that might be making your site difficult to navigate for them, and fix those issues.
You can use tools like NVDA (windows) and Apple’s built-in VoiceOver to test your website .
How to Test:
- Download and install NVDA for Windows or use VoiceOver on macOS.
- Use the screen reader to navigate your site. Pay attention to how elements are described and whether navigation is logical and easy to follow.
- Make note of any elements that are not properly described or that disrupt the flow of navigation. Adjust HTML and ARIA attributes as needed to improve accessibility.
Conclusion
Accessibility isn’t a one-time task. Regularly check your site to ensure it remains compliant as you update content. You can use tools like Siteimprove Accessibility Checker to get detailed reports and ensure proper accessibility on your website.
Here are some best practices that you can do to stay compliant -
- Schedule Regular Audits: Plan to run accessibility audits monthly or quarterly to catch new issues.
- Stay Updated: Keep up with changes to accessibility guidelines and standards to ensure continuous compliance.
- Train Your Team: Educate your team on accessibility best practices so that new content and features are accessible from the start.
By following these detailed steps, you can ensure your Webflow website is compliant with the EAA 2025 and accessible to all users. Taking these actions not only helps you meet legal requirements but also creates a better user experience for everyone.
We are working towards making Saddle a more accessible website. We hope you do the same for yours :)
Pro Tip: Webflow has an accessibility checklist that you can refer to when building your website here onwards to make sure you always comply.